Hello there! I'm Sebastià López, and I am a member of the Coding Team of this project.
Most of my work has been put on the engine (also known by the team as "The Boiler Room") and I've found my place in there. During this project, I've realised I really like Engine programming and it's what I will probably focus on my coding career.
My contributions on the project are mostly centered on the Graphics pipeline of the engine.
To summarize, here's a list of things I've contributed with.
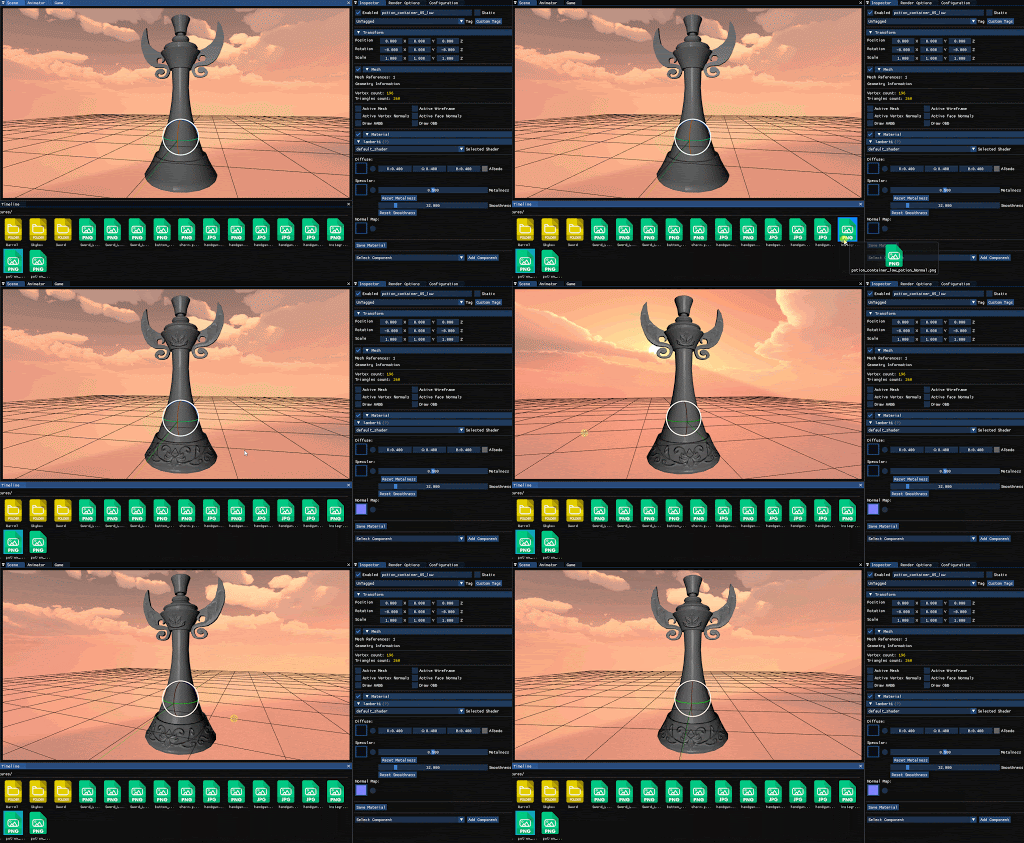
For the Material System I've created a layout similar to Unity.
Every material must have a Shader, chosen from the list of shaders that are available. The choosen shader will dictate what Inputs that material can take, such as textures, colors, or other variables needed.
The initial basic default shader that I created (and later on evolved) had the lighting calculation and also had the three main texture maps:
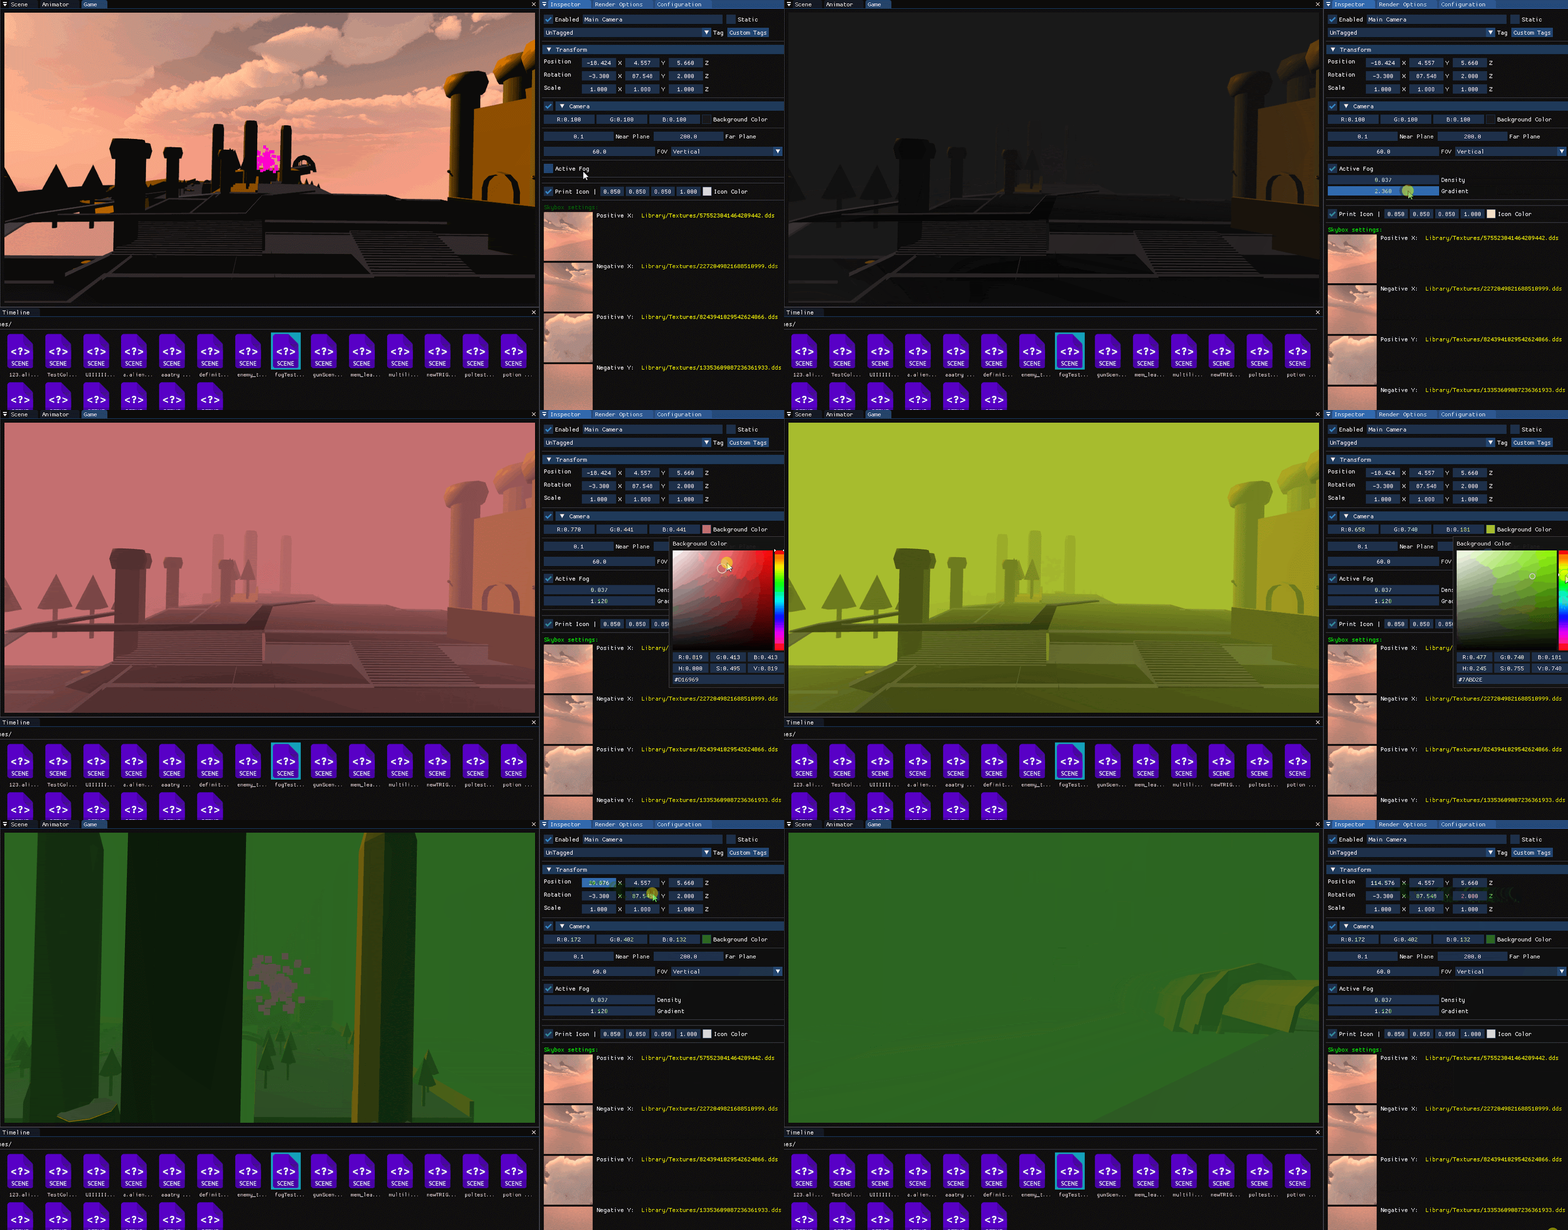
In the default shader, I applyed a Fog visual effect, that "blends" every pixel of the screen, with the background color of the camera, depending of that pixel's distance from the camera.
To customize this effect, you can modify the blending values, defined by the Density of the fog and the Gradient in which it fades through the distance. You can also modify the background color.
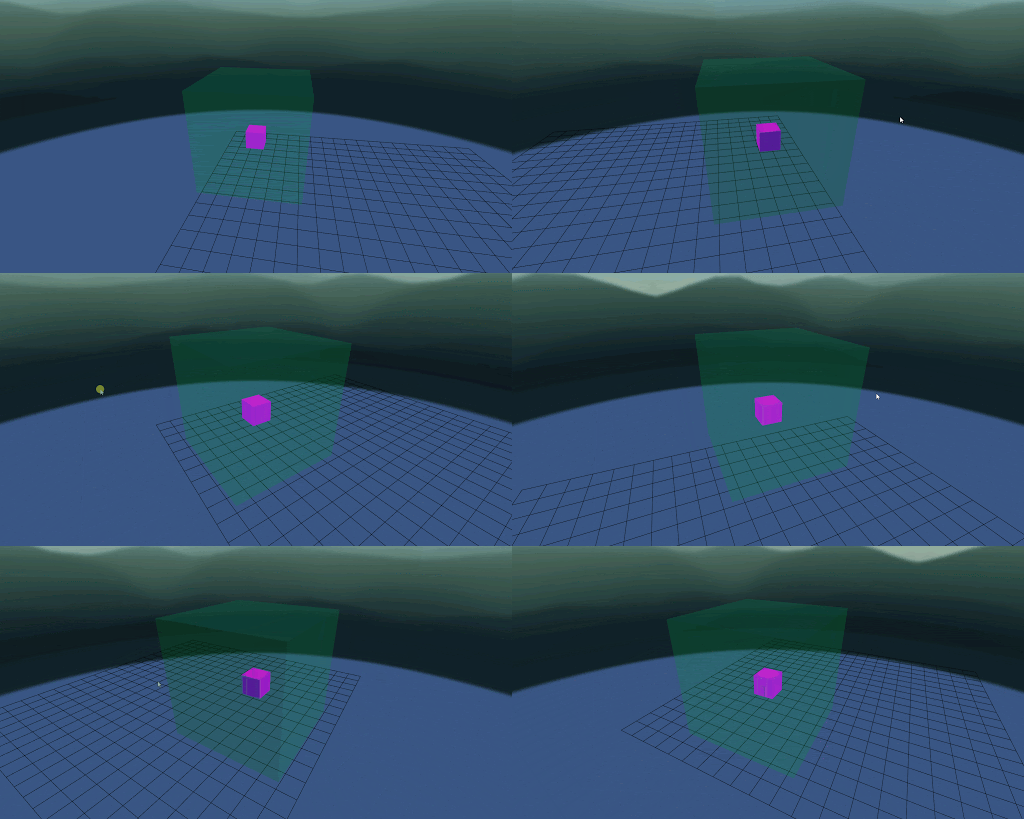
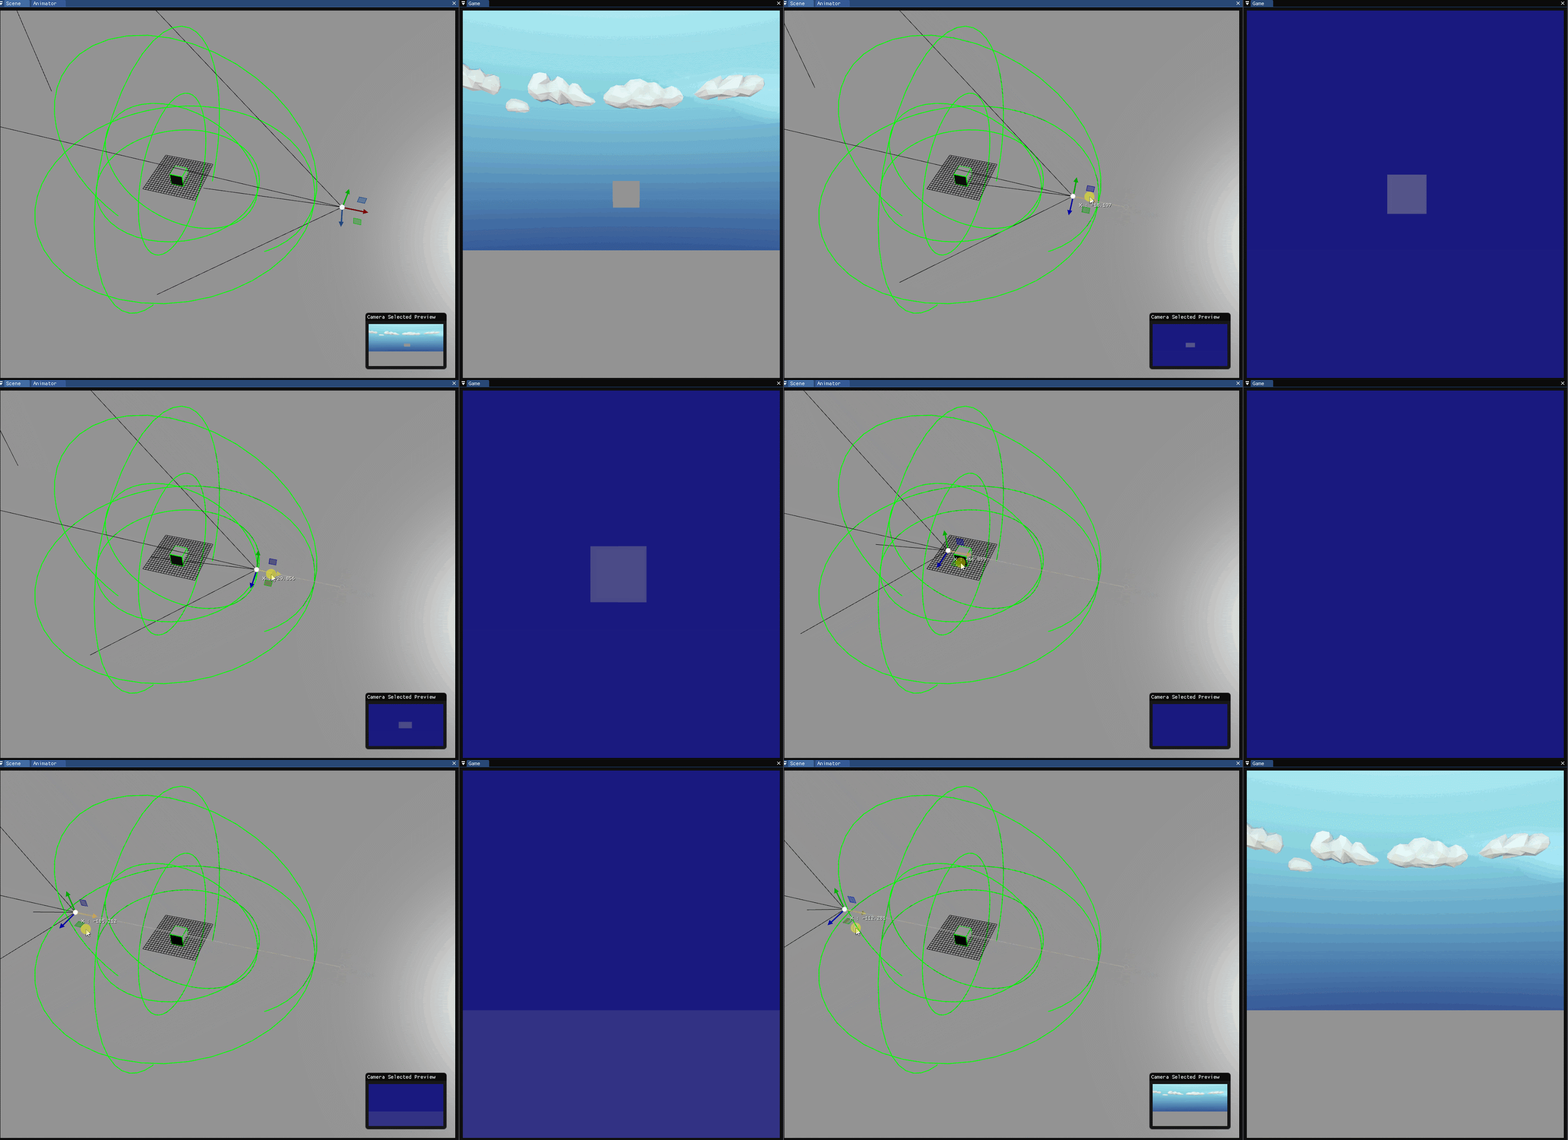
The first time I "stepped" out of the Engine was to program a Script for fog zones that can be added to any level. I created it with the idea of mimmicking the feeling when you enter a fog zone, in which the density rises progressively as you advance through the fog.
The script could be customized by two radius, in which the camera would interpolate the wanted values from the outter radius to the inner radius. The script can also set the camera background color.
I've also improved the drawing ordering to make sure the transparencies worked correctly. At first, the objects where draw from far to near. Later, we realised we had some situations (like the one seen in the GIF) that needed more than that.
The next step was to introduce the concept of Render Mode to the material system. It had to options: Transparent or Opaque. When drawing the scene, now we draw opaques objects from far to near, and later, the transparents ones from far to near aswell.
I created the first iteration of the default shader (later on it evolved with the contribution of multiple members) in which I implemented the Phong Lighting Model.
At this point, we only had one texture input and one color input.
After implementing the default shader with the lighting calculations, and we started to get a higher number of objects in the scene, we had performance troubles when rendering the scene.
Arrived at this point, I researched about possible optimizations that can be done in the rendering pipeline and the one that more popped off was the shader batching. Since binding/chaning shaders is really costly, it would reduce a lot our ms.
The shader bathing consisted of batching together all the objects that used the same shader. With this, I also discovered that we could also save tons of ms in uniform passing.
We didn't need to pass all the light information for each object, which was really expensive.
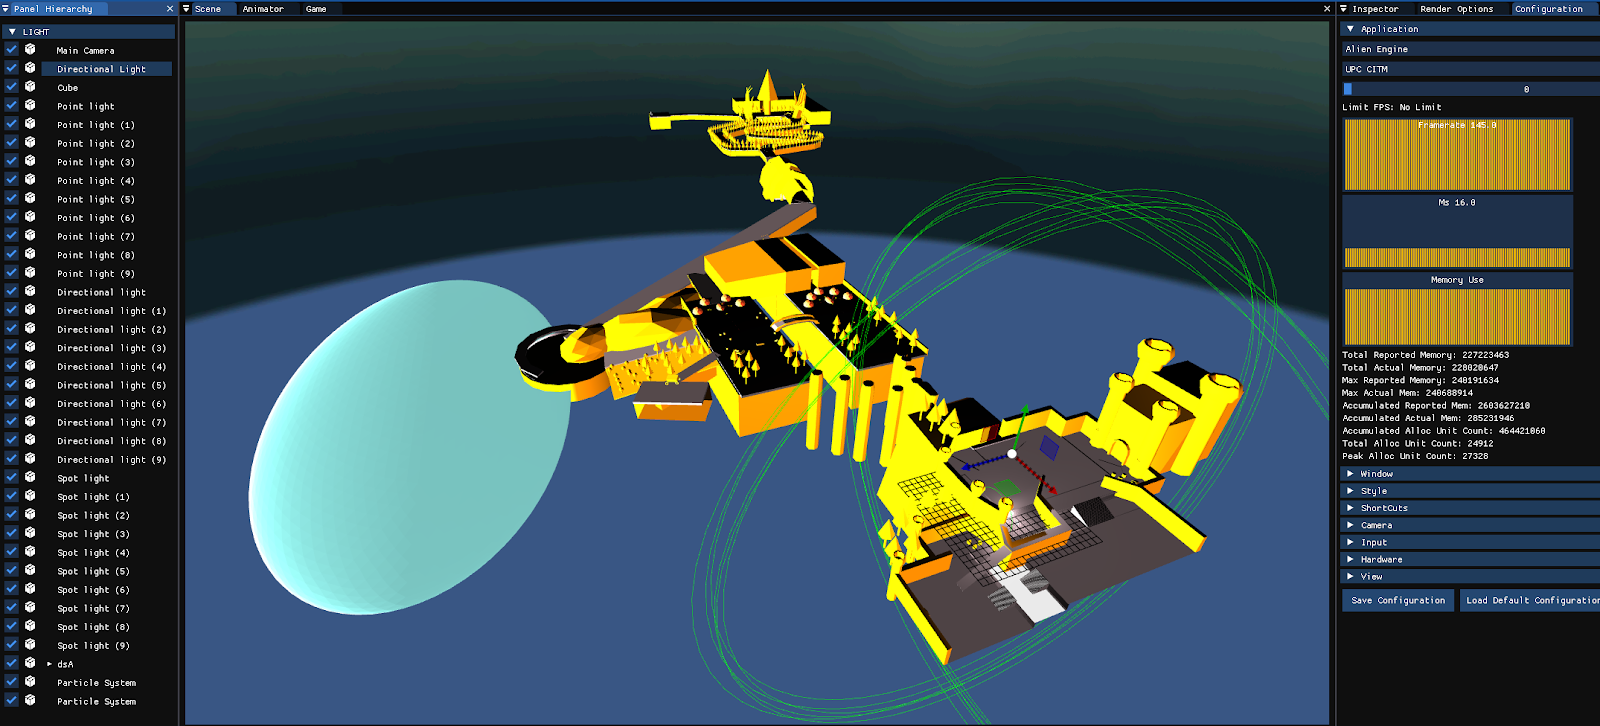
It ended up being a double optimization. In the pictures above, you can see the white rectangles describe the uniform passing cost. In the first image, is repeated for each object, and the second one is only passed once.
Finally, I implemented a Post-Processing Pipeline that allowed me to apply some effects to the scene that we have rendered. This pipeline, doesn't affect the UI, as we had UI-InGame world that we didn't want to get interfered by the post-processing.
The first feature I introduced was the High Dynamic Range (HDR) image. In which the objects rendered have a wider range of color to be displayed with. This has many tricks with ilumination since darker parts will be seen better, and brighter parts, won't bleed as much.
Here we can see how the Exposure can be modified to achieve desired results depending on the lighting we have on the scene.
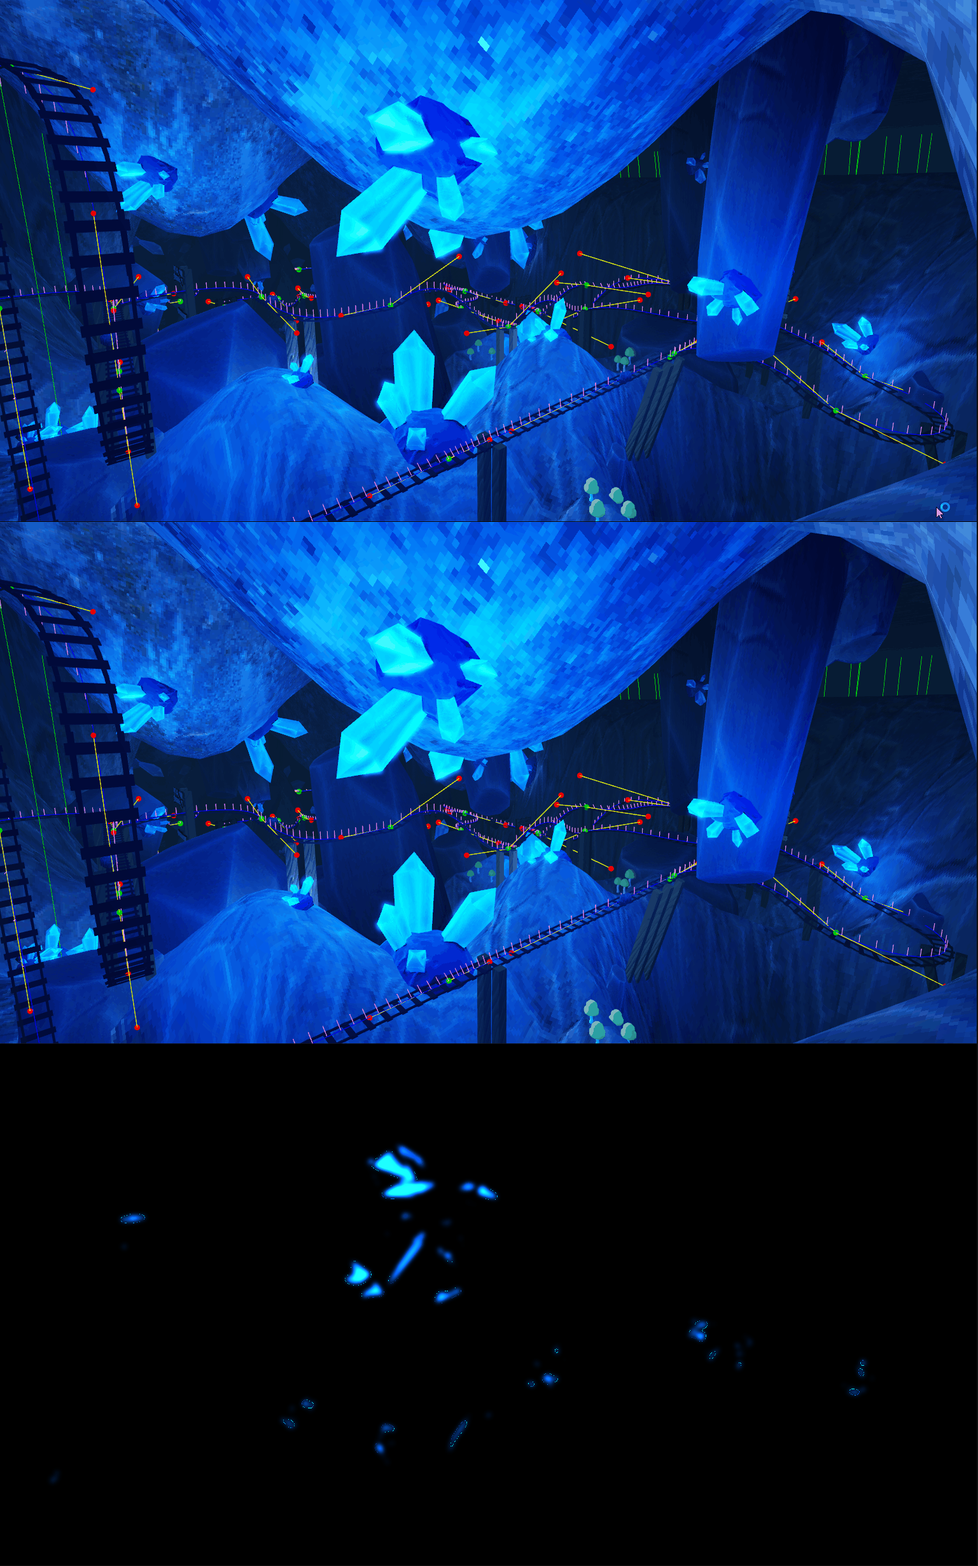
And last, but not least. I implemented the Bloom or Emissive effect. This post-processing feature blurs the texture with brighter parts of the rendered scene, so it appears they emit some kind of light.
The value of brighter segments of the scene, can be modifyed by a factor, so you can choose what threshold of bright pixels will be blurred.
Here you can see the bright part of the scene, blurred and blended into the original scene.